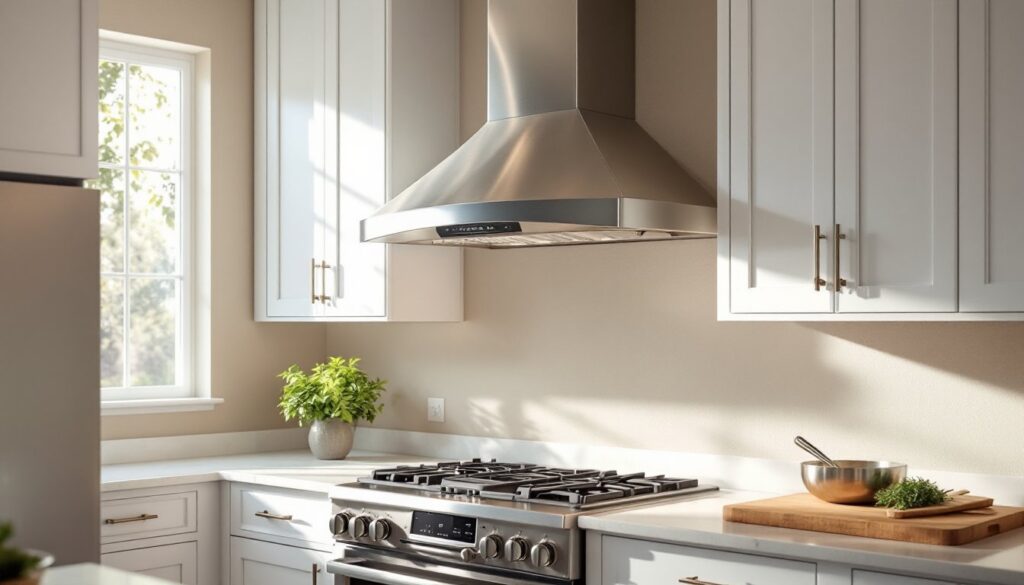
Kitchen island lighting does more than fill a room with brightness, it defines how you’ll work, eat, and gather in the heart of your home. Many DIYers overlook island lighting until after cabinets are installed and the space feels dim and uninviting. The right fixtures above your island create task lighting for food prep, ambient warmth for gatherings, and visual interest that ties your kitchen design together. Whether you’re updating an existing island or building one from scratch, understanding height, spacing, wiring, and style choices will help you nail this project without costly mistakes.
Table of Contents
ToggleKey Takeaways
- Kitchen lights over island should hang 30–36 inches above the counter and provide 50 foot-candles of light (100–150 watts incandescent or 15–25 watts LED) for safe food prep and visibility.
- Use 2–3 pendant lights spaced evenly across your island, with fixture width roughly half the island width to maintain balanced proportions and prevent an cramped appearance.
- Always anchor kitchen lights over island directly into ceiling joists using heavy-duty fasteners, shut off power at the breaker, and hire a licensed electrician if you’re unsure about wiring to avoid fire hazards.
- Choose pendant materials and finishes (matte black, brass, glass, or fabric shades) that coordinate with your cabinet color, countertop material, and overall kitchen style for a cohesive design.
- Select a color temperature of 3000K for island lighting to balance task brightness with warm, inviting ambiance for both cooking and social gatherings.
- Measure twice and mark ceiling centerlines with a pencil before drilling, use a stud finder to locate joists, and test fixtures on the circuit before making permanent electrical connections.
Why Proper Island Lighting Matters
A kitchen island functions as both a work surface and a social hub. Without adequate overhead lighting, you’ll create shadows where you prep food, strain your eyes while cooking, and lose the chance to highlight this centerpiece of your kitchen. Poor island lighting also affects the room’s overall ambiance, dim or wrong-colored light can make the entire kitchen feel uninviting, while properly planned fixtures make the space feel open and functional.
Task lighting over your island should be bright enough to see knife work, sauces, and ingredients clearly. Most building codes don’t mandate specific foot-candle requirements for kitchen islands, but the National Kitchen and Bath Association recommends 50 foot-candles for detailed work areas. That typically means 100–150 watts of incandescent light, or 15–25 watts of LED, depending on fixture design and reflector efficiency.
Beyond function, island lighting anchors your kitchen’s design language. Pendant lights, chandeliers, or track systems create visual balance and can echo your cabinet style, countertop materials, or wall treatments. Getting this right prevents the island from looking like an afterthought.
Choosing the Right Fixture Height and Style
Pendant Lights vs. Chandeliers for Islands
Most islands work best with 2 to 3 pendant lights spaced evenly across the countertop width. A standard rule: hang pendants 30–36 inches above the counter surface, measuring from the bottom of the fixture to the countertop. This height keeps light from blocking sightlines while staying low enough to cast useful task light.
Pendants offer flexibility, they’re often easier to wire than chandeliers, mount quickly to a standard ceiling box, and come in almost any style (industrial, modern, transitional, farmhouse). A 36-inch or 48-inch island usually fits 2 pendants spaced 24–30 inches apart and centered. For longer islands (5+ feet), 3 pendants work better, with roughly 18–24 inches between centerlines.
Chandeliers are less common over islands but can work for larger spaces. They hang lower (sometimes 28–32 inches above the counter) and create a more formal focal point. Chandeliers work best on islands at least 4 feet wide: narrower islands risk the fixture feeling cramped. If you choose a chandelier, ensure its width doesn’t exceed the island width minus 12 inches on each side.
When sizing fixtures, remember that wider pendants or a larger chandelier can dwarf a small island. A rule of thumb: fixture width should be roughly half the island width. This visual ratio keeps proportions balanced. Style-wise, pendant lights from sources like The Kitchn or professional design galleries showcase how different finishes (matte black, brass, clear glass, fabric shades) coordinate with cabinet colors and countertops.
Consider pendant material and transparency. Glass or open-frame pendants allow light to spill downward and around the island: shaded pendants focus light down but may create a cozier, more contained look. In open-concept kitchens, transparent or translucent pendants keep the space visually connected to adjacent dining or living areas.
Installation Tips for DIY Success
Spacing, Wiring, and Safety Considerations
Before you drill or run wire, measure twice and mark your ceiling with a pencil. Locate ceiling joists using a stud finder, you’ll want to anchor each pendant or chandelier directly into a joist if possible, or use heavy-duty ceiling anchors (toggle bolts or expanding anchors rated for 50+ pounds per fixture). Standard drywall alone won’t safely hold pendant weight.
For a 2-pendant layout on a 3-foot island, space pendant centers 18–24 inches apart and center them on the island. On a 4-foot island, try 24–30 inches apart. Use a tape measure and a pencil line across the ceiling to mark centerlines before cutting any holes. This prevents drilling asymmetrically and saves frustration mid-project.
Wiring requires shutting off power at the breaker panel before touching any existing circuit. If you’re adding new pendants to an old kitchen, you might be extending an existing overhead fixture circuit or running a new line. This is where DIY gets serious: improper wiring can trip breakers, create fire hazards, or violate local electrical codes. If you’re not confident with wire gauge (typically 12 AWG for a 20-amp circuit, 14 AWG for 15-amp), hiring a licensed electrician for the rough-in wiring and letting you install the final fixtures saves money and headaches.
Most pendant manufacturers include a mounting kit with a ceiling canopy (the decorative cover that hides the wiring box). Install the canopy flush to the ceiling to avoid visible gaps. Secure pendant wires or chains to the canopy mounting plate before raising fixtures: this prevents strain on connections.
Wear safety glasses and work gloves when drilling through drywall and joists. If using a power drill, secure the island (place a step ladder or sawhorses underneath to catch the drill if it binds). Keep a headlamp or work light aimed at your ceiling, working overhead in shadows leads to mistakes and eye strain.
After mounting, test fixtures on the existing circuit before turning them into permanent parts of the electrical system. Flickering, dimming, or breaker trips mean overload or a wiring issue, stop and consult an electrician.
Design Ideas to Match Your Kitchen Style
Your island lighting doesn’t exist in isolation, it should coordinate with cabinet color, countertop material, and hardware finishes. A modern kitchen with white cabinetry and stainless steel appliances pairs well with sleek pendant lights in matte black, brushed brass, or chrome. Farmhouse kitchens suit vintage-inspired pendons with clear or frosted glass shades and oil-rubbed bronze or black finishes.
Transitional kitchens (a blend of traditional and contemporary) work best with neutral finishes, brushed nickel, polished chrome, or soft black, that don’t overwhelm. If your countertops are patterned granite or quartz, choose pendants with solid-color shades to avoid visual clutter.
Material choices matter. Pendant shades in fabric or linen create warm, diffused light: glass (clear, frosted, or colored) gives brighter task light and a crisp look. Industrial-style kitchens favor bare Edison bulbs or cage-style metal pendants. Mediterranean or Spanish-inspired kitchens suit hand-blown glass or wrought-iron fixtures.
Color temperature also affects mood: warm white (2700K) feels cozy and inviting: neutral white (3000–4000K) is ideal for task work: cool white (5000K+) can feel clinical. For islands where you both cook and socialize, 3000K is a solid middle ground, bright enough to see what you’re doing, warm enough for gatherings.
If your kitchen already has under-cabinet task lighting, island pendants can focus more on ambiance and style. Conversely, if the island is your only task light source, prioritize brightness and color temperature over decorative appeal. Photo galleries on design platforms show how successful kitchens balance fixtures with countertops, wall color, and flooring to create cohesive, functional spaces.
Conclusion
Kitchen island lighting is an investment in both function and aesthetics. By choosing fixtures sized to your island, spacing them correctly, and wiring them safely, you’ll create a workspace that’s both practical and beautiful. Take time during the planning phase to measure, locate joists, and mark your ceiling. If wiring feels outside your comfort zone, hire a pro, it’s worth the cost to avoid electrical mistakes. With proper island lighting in place, you’ll transform your kitchen into a space where cooking, eating, and gathering feel seamless.